Dinner · Recipes

Asparagus and Mushroom Pizza with a Peach Berry Salad

Asparagus and Mushroom Pizza

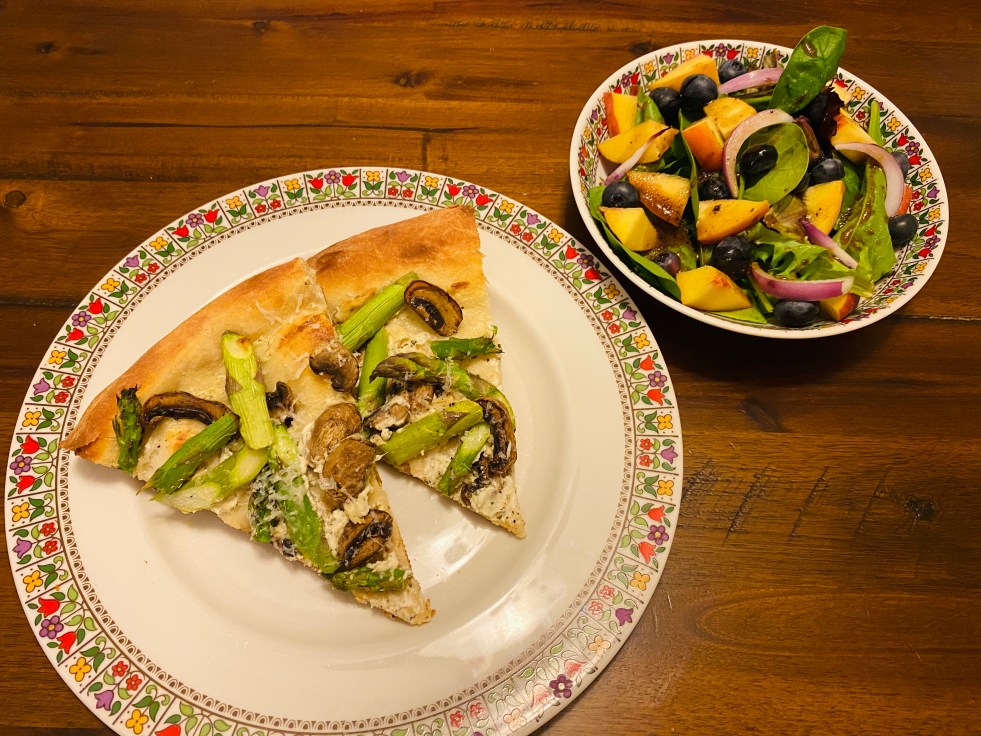
This meal was a fabulous end to a fun filled Sunday! We took it upon ourselves to get out of the house and go for a drive on the Blue Ridge Parkway. It was so a cool 64 degree ride with the wind blowing through our hair. It’s days like this that make me crave summer on a plate!

Asparagus and Mushroom Pizza with a Peach Berry Salad.

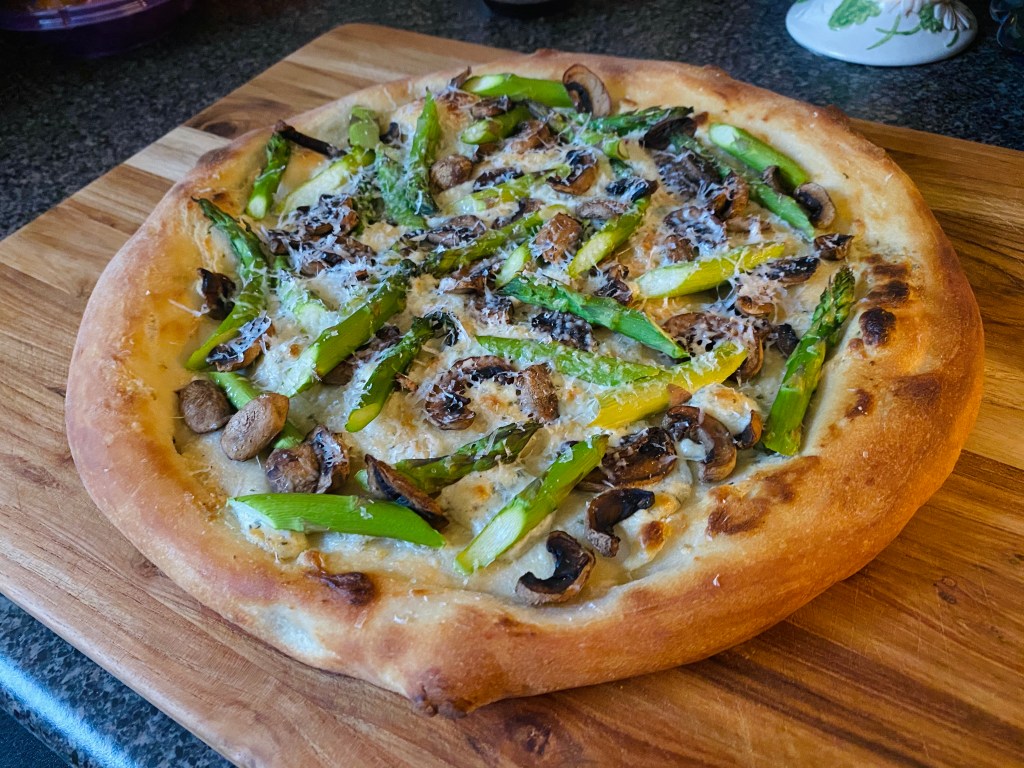
This meal is so refreshing as it incorporates many summer flavors. The mushrooms are cooked prior to adding them to the pizza by simply browning for a couple of minutes and lastly adding a splash of white wine. This helps bring out the deep and meaty flavors of the mushrooms. I slice the asparagus at an angle after finding the area in the stock to snap them. By trimming them down it allows for a easier cook on the asparagus. The salad helps complete the meal with a delicious mix of blueberries and peaches. I like to add a hint of red onion in the salad as well for a bit of a bite to the salad. Sometimes red onion can be more powerful than what you would like, so I like to soak the red onion slices that I use on my salads. By soaking the red onion it takes the punch down a bit. Now, for the recipes!

Asparagus and Mushroom Pizza

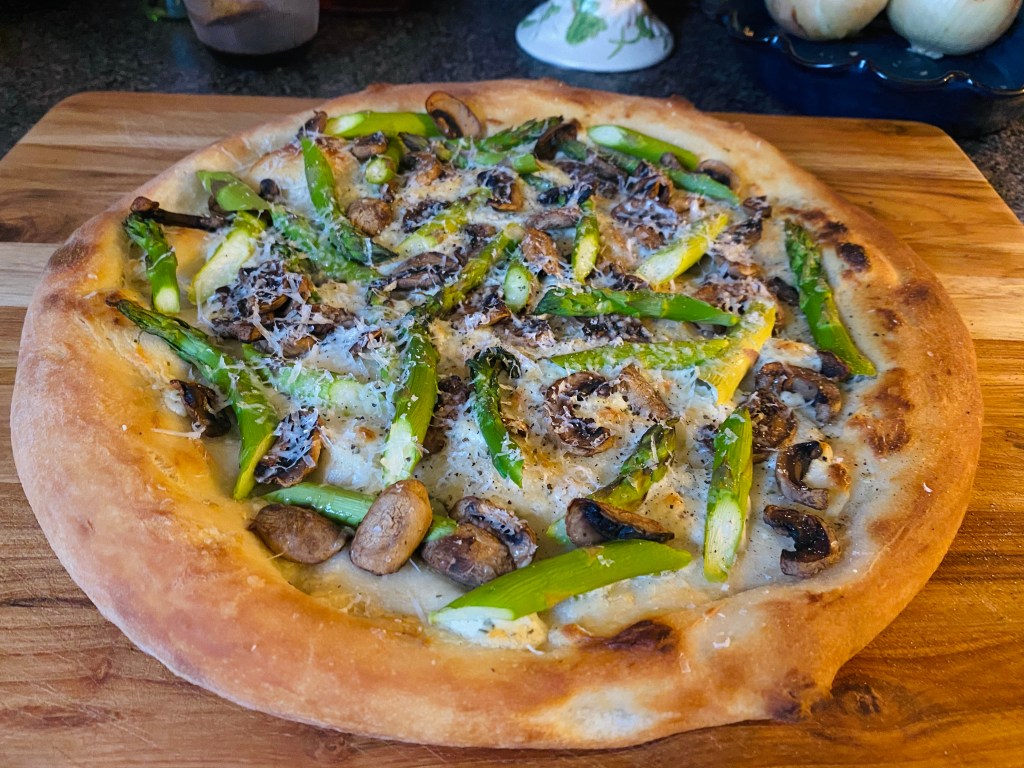
ASPARAGUS AND MUSHROOM PIZZA

Ingredients:

  • 1 pizza dough
  • 1 cluster of asparagus, trimmed and sliced
  • 1 (8 oz) container of mushrooms, sliced
  • 1/2 container of Garlic & Herbs cheese spread (I used Alouette Cheese)
  • Parmesan cheese
  • 1 Tbsp white wine
  • Olive oil

Directions:

  • Pre heat oven to 450 degrees F and prep pizza dough.
  • In a medium pan cook mushrooms on med-high heat until they start to brown; add white wine and reduce for 3 minutes. Remove from heat and set aside.
  • Once pizza dough is stretched into a circle, pre-bake crust for a couple of minutes or until the crust just starts to brown; remove from oven.
  • Top pizza with cheese spread and be sure to spread out evenly.
  • Top with half of the mushrooms, then add asparagus and finally the rest of the mushrooms.
  • Rub olive oil on crust.
  • Bake for 10 minutes or until crust becomes golden brown; remove from oven and immediately top with Parmesan cheese.
  • Make salad while pizza cools.
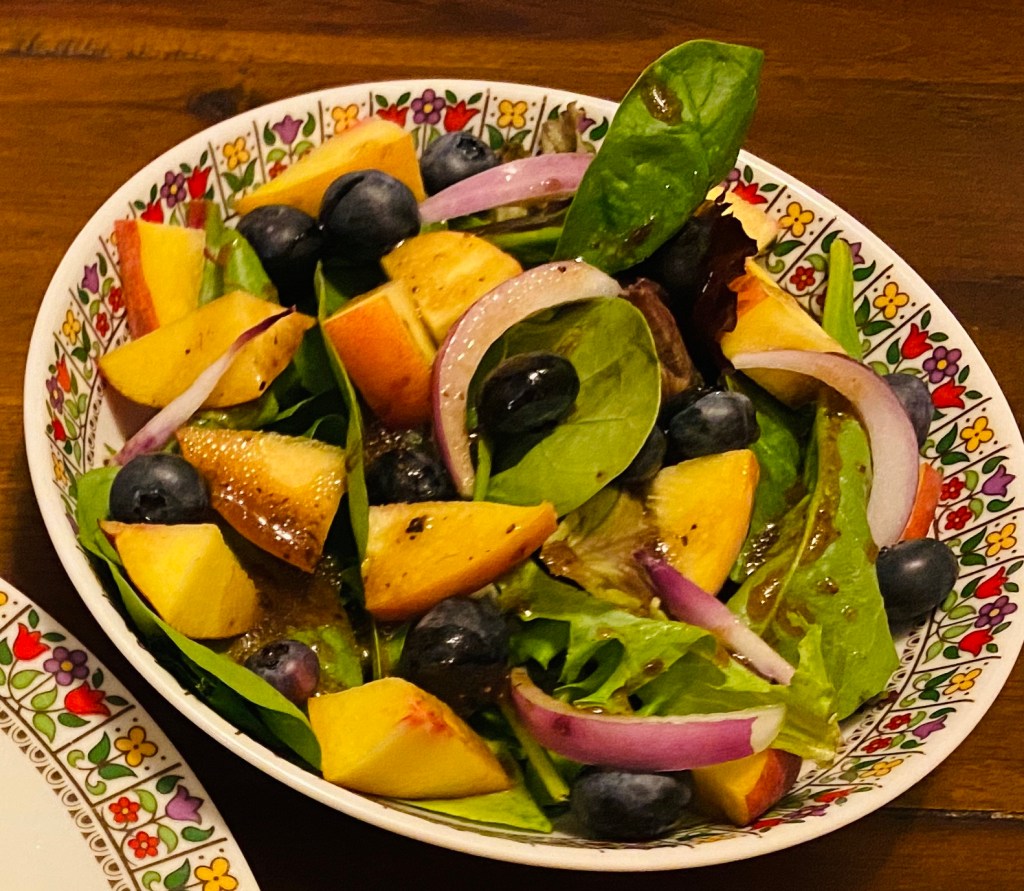
Peach Berry Salad

PEACH BERRY SALAD

Ingredients:

  • 2 peaches, cut into slices, then in half
  • 1/4 cup of blueberries
  • A couple of slices of red onion
  • A couple of handfuls of mixed greens
  • Balsamic vinaigrette

Directions:

  • Mix all ingredients together, except the balsamic vinaigrette.
  • Toss gently to combine.
  • Add balsamic vinaigrette as a self serve.
Dinner · Lunch · Recipes

Let’s Get “Saucy”!

My apologies for the silly title…I’m starting to really feel the effects of the quarantine! But on a more serious note, pizza is a staple at our house and some weeks we eat homemade pizzas two if not three times a week. My husband is the one who cooks this meal for our family and he always makes the most terrific pizzas! Sometimes we make basic margarita pizzas and that’s exactly what we are making tonight. Now if you know anything about pizza (lol) then you know that you MUST have a great pizza sauce to go on a great pizza. Today, I’m going to share my pizza sauce and the best news is that is super easy along with being super tasty and you can make it ahead of time!

All the ingredients you will need to make this tasty, fun and easy sauce.
Prepping the garlic to be roasted.

You will notice in the recipe that you will need to roast your garlic. By roasting your garlic you will get a deep flavor from those little garlic cloves. Here’s a tip that I use…I grab a small amount of tin foil and make a bowl using my hands. Then place your whole/skin-on garlic cloves in the tin foil and lightly cover with a good olive oil. Fold up the sides and make a ball out of the tin foil and wah-lah….you are all set to roast your garlic! I roast my garlic for about 20 minutes at 350 degrees F. You should just start to smell that fragrant smell of roasted garlic at the 15 minute mark; let it go for about 5 more minutes. Allow the garlic to rest in the tin foil for a few minutes to help cool down. That roasted garlic will squeeze out of its skins when it’s time to add it to the sauce. Now let’s talk about the tomatoes and the process of making the sauce!

I like using Tuttorosso Peeled Plum Italian Style Tomatoes. It’s plum tomatoes in their own juices…nothing added…just tomatoes. This allows you to build your own flavor profile with your unique sauce. You will not be cooking this sauce except when it’s on your pizza and the best part is you get to get your hands dirty by squeezing all those tomatoes and garlic, so this could be fun for kids to make as well. I use a large mixing bowl to squish all of the ingredients together, followed by straining the sauce to separate the juice from the actual sauce itself and lastly I reserve my flavorful tomato juice to have with breakfast or a delicious cocktail! Here are some pics of the process and the recipe!

I use a big bowl to get everything mixed together and incorporated. Be careful when you are squishing those tomatoes…the juice can go everywhere!
This is a snap of the sauce prior to draining off most of the juice. I use this handheld strainer to strain the bulk of the juice off. I also use a spatula to push that juice through the strainer.
Pizza Sauce

Pizza Sauce

Ingredients:

  • 1 (28 oz) can of Italian Style Peeled Plum Tomatoes
  • 3 cloves of garlic, roasted with skin on
  • 1 tsp of sea salt
  • 1 tsp of sugar
  • 1 Tbsp Italian Seasoning (optional)
  • Olive oil for roasting garlic

Directions:

  • Roast garlic in a 350 degree F oven. (Directions for this above) Allow garlic to cool.
  • Add tomatoes and garlic to a large mixing bowl and squish by hand until all tomatoes are broken.
  • Add salt, sugar and Italian seasoning and mix by hand.
  • Taste to make sure you have a good balance of salt and sugar.
  • Strain the sauce into a second large mixing bowl and reserve any left over tomato juice for drinking.
  • Add to pizza! Store any left overs. Leftovers will keep in the refrigerator for up to one week.
  • Enjoy!