You guys!!! This is my family’s favorite Saturday, Sunday….(who am I kidding) anytime Hors d’oeuvres! These are AMAZING and I have been making them for years! They are simple, cheap, but very delicious…always a crowd pleaser. These are the type of snacks that I make for the people that I love the most. A lot of care and a lot love go into making these delicious Hors d’oeuvres.

When I first discovered this recipe I was laid up on the couch (after having my 5th knee surgery) watching a DVD (yes, a DVD) of Paula Deen in her first Food Network show. Her recipe was so yummy and simple that I knew that even though I was a novice home cook that I could make these tasty bites! Through the years, I have adapted and infused my own flavors to create my own tasty canapés. From juicy sangria tomatoes, creamy/cheesy mayo to crispy bacon…this recipe has it all!

This recipe is packed full of flavor and every bite should be savored. I like to experiment with this recipe meaning that it’s ever evolving. I like to try new spices and new techniques with each time I make this recipe. The version I am sharing with you today is MY FAVORITE! Now, I hope you enjoy this recipe as much as my family and I do!

TOMATO CANAPÉS
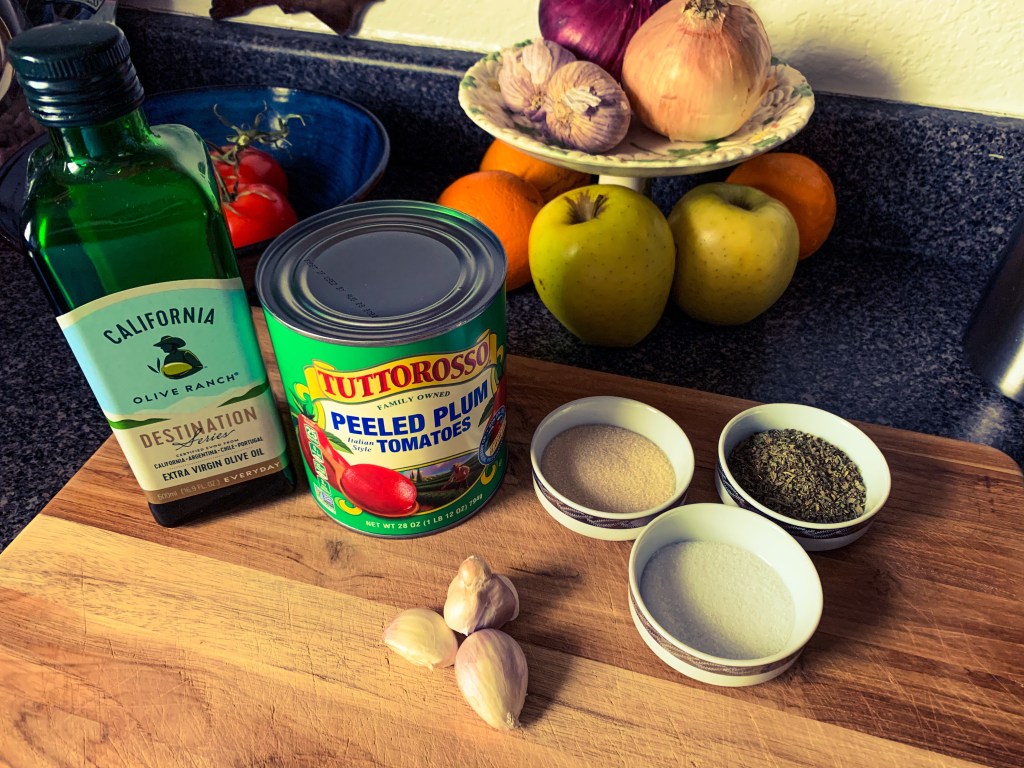
Ingredients:
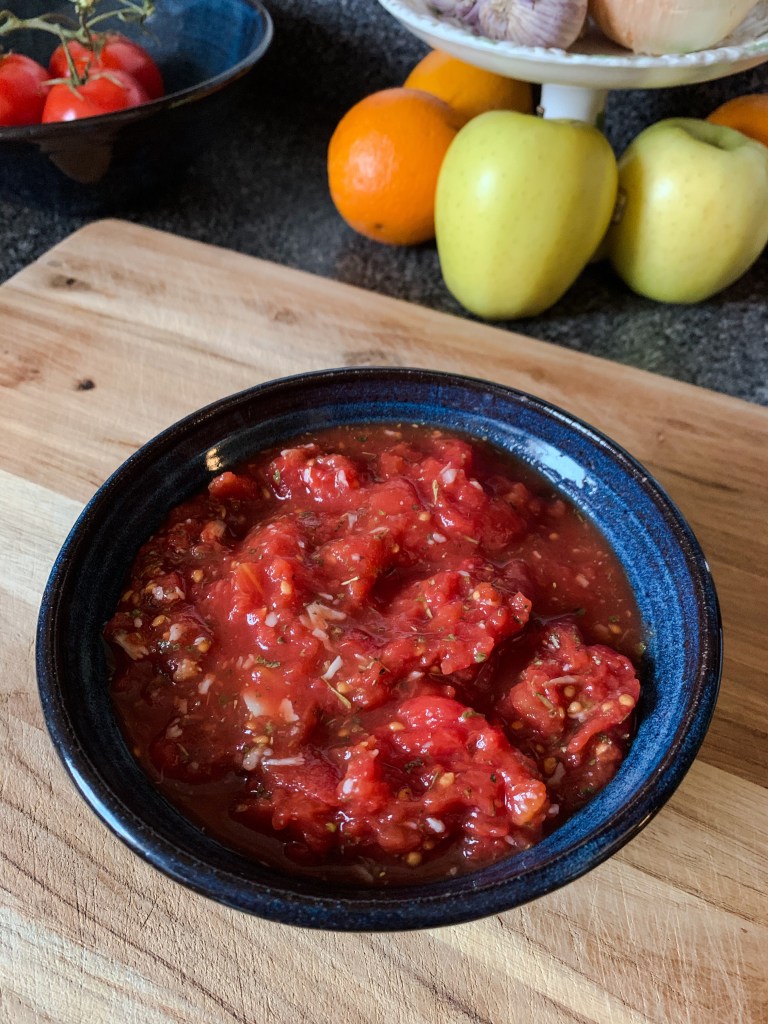
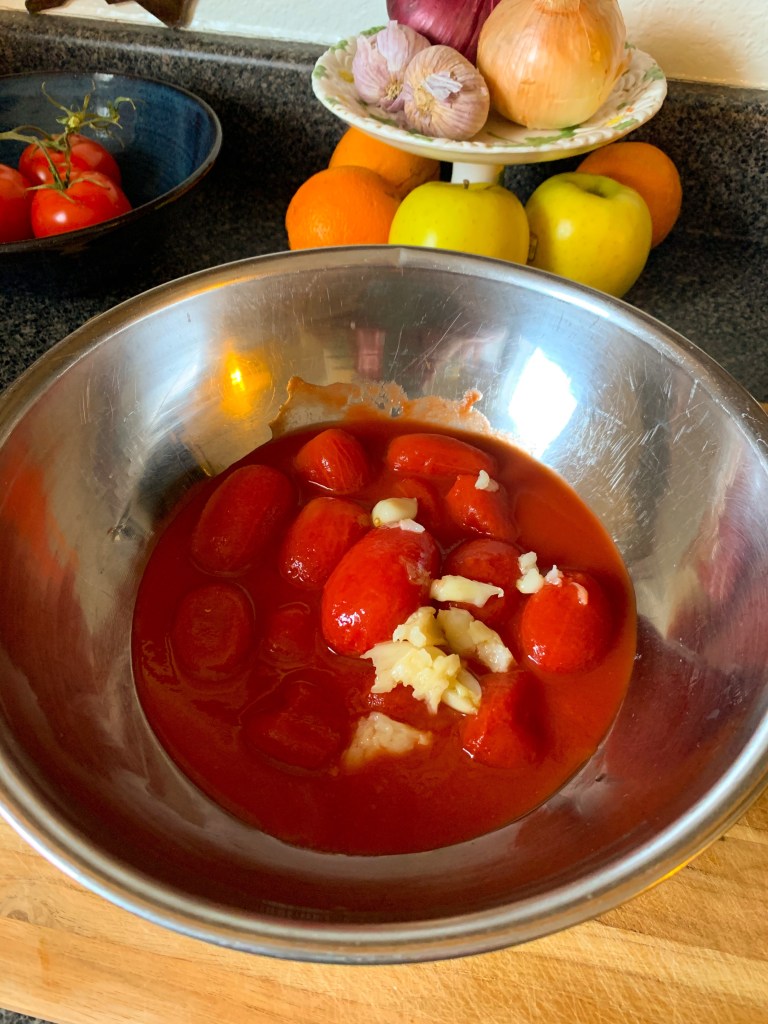
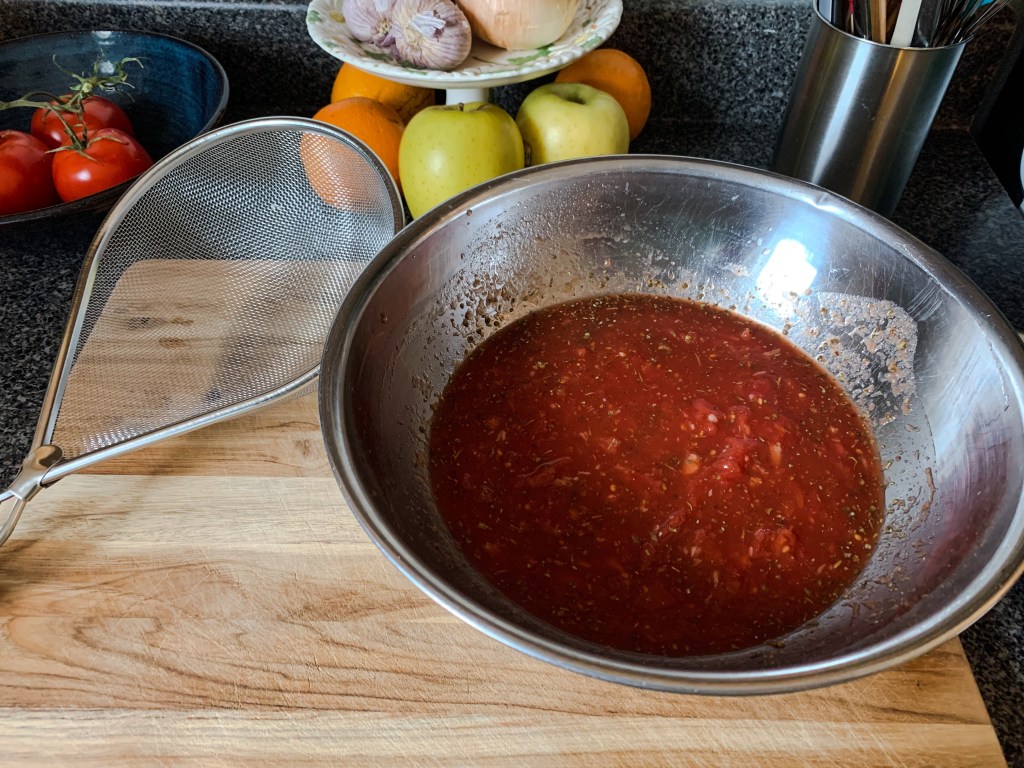
- 1/2 container of sangria tomatoes, pulped and diced
- Salt, a dash
- Pepper, a dash
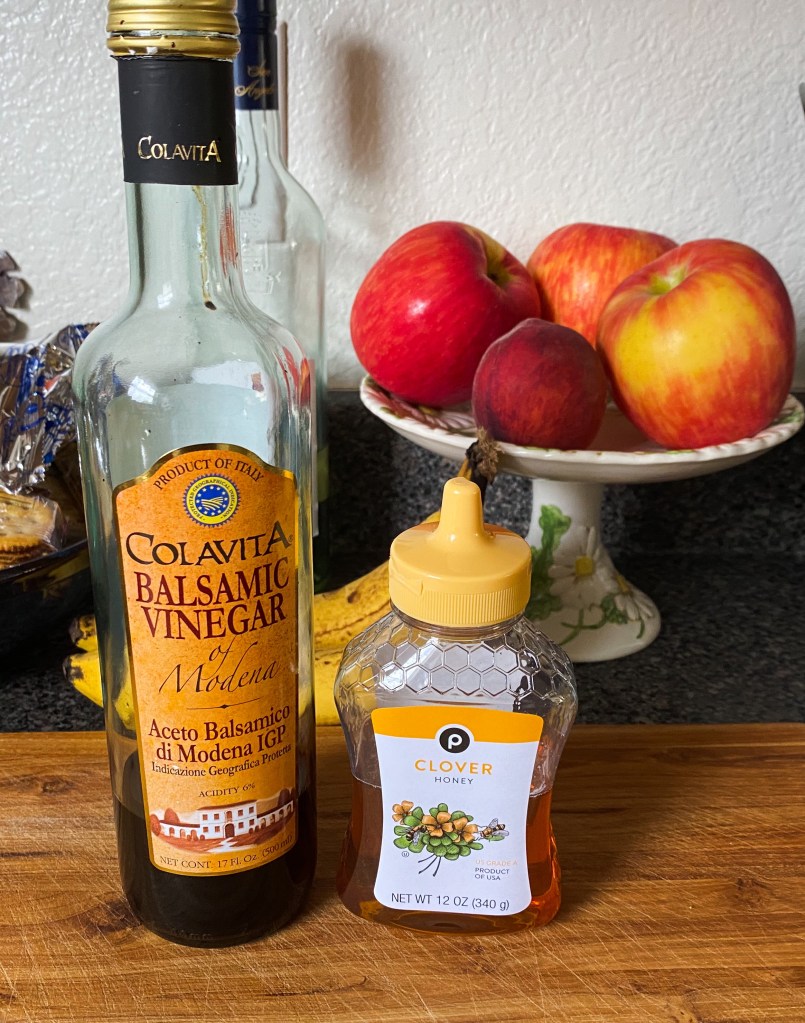
- 1 1/2 Tbsp balsamic vinegar
- 4 strips of bacon, cooked, drained and crumbled
- 3 Tbsp mayonnaise
- 1 1/3 tsp pesto
- 1/2 cup mozzarella cheese, shredded
- 1/4 cup Parmesan cheese, shredded
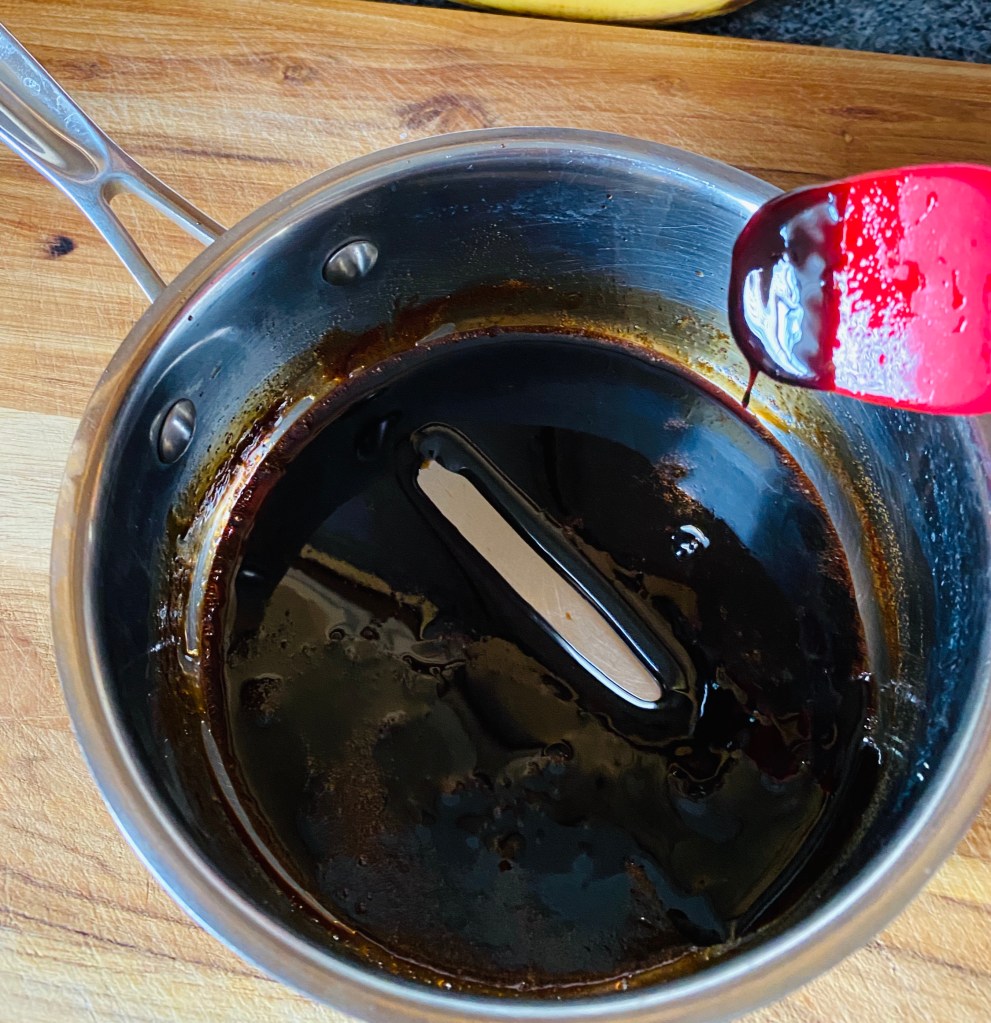
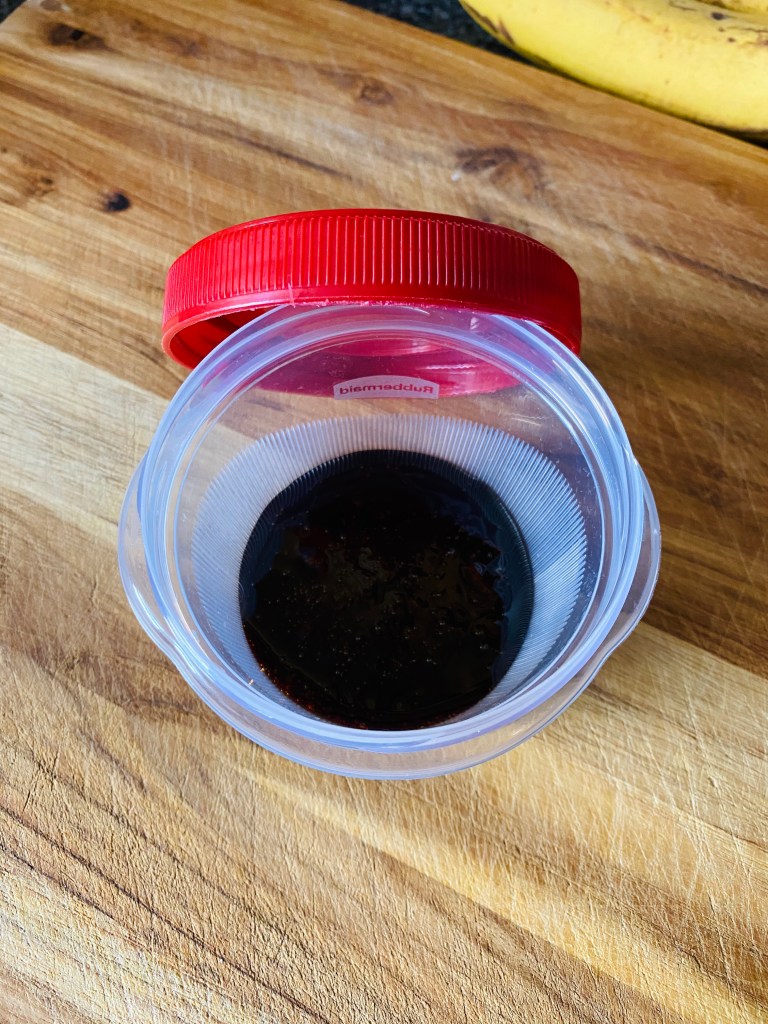
- 1 1/2 tsp balsamic glaze https://erinnskitchen.food.blog/2020/06/21/balsamic-glaze/
- 1 package phyllo canapé shells
Directions:
- Pulp tomatoes and dice; mix with a dash of salt, pepper, and balsamic vinegar. Let sit for an hour to marinate.
- Cook bacon, drain and crumble; set aside on a towel to drain.
- Preheat oven to 350 degrees F. Remove phyllo shells from packaging and set on an increased pan.
- In a mall bowl mix together mayonnaise, pesto, mozzarella and Parmesan cheese.
- Fill each phyllo shell with drained tomato’s.
- Top each shell with mayonnaise mixture (like a cupcake); add bacon on top.
- Bake at 350 degrees F for 10 to 12 minutes.
- Once canapés are out of oven allow to cool on baking sheet for 5 minutes then move to cooling rack.
- Once cooked for 10 minutes on cooling rack; top with balsamic glaze.
- Enjoy!