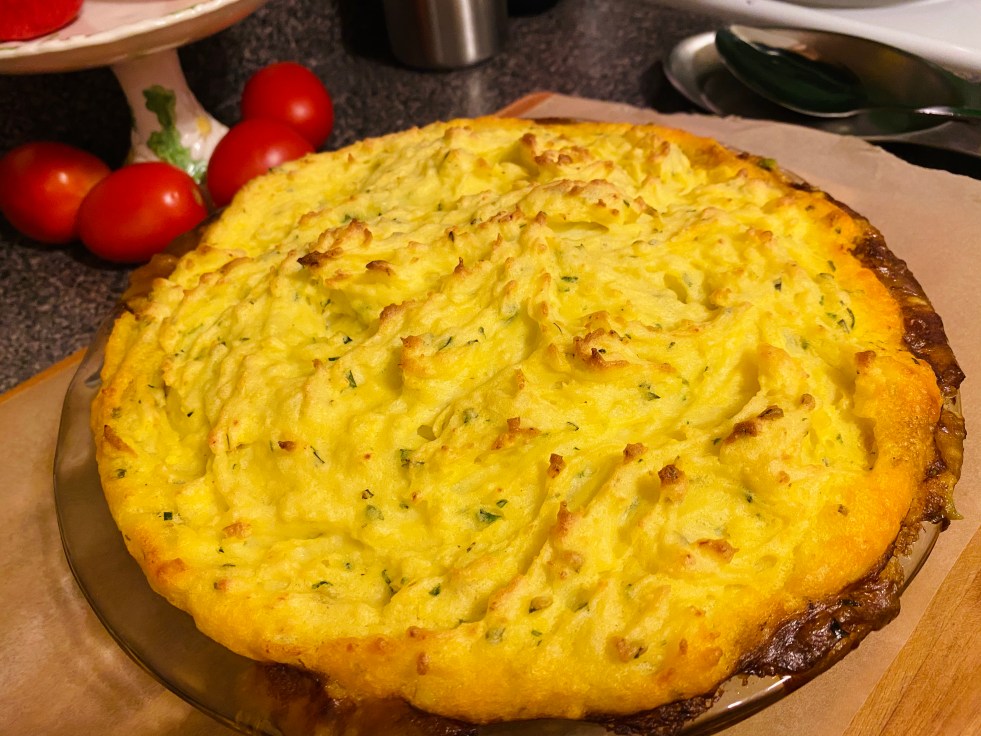

I have been really excited to share this blog with you! As you know, yesterday was Father’s Day and my husband is a GREAT Daddy to our daughter. We are so lucky to have him in our lives and he is absolutely the BEST Daddy ever, so when he puts a request for a special dinner I am more than happy to oblige! Ever since we’ve been on lockdown from quarantine, we’ve started watching more and more cooking channels on YouTube. We just happened to stumble across this one https://www.youtube.com/user/bgfilms which I highly recommend you go check him out as he makes some of the most amazing dishes! My husband saw his Shepherds Pie and asked if we could try it out, so that’s what I made for his Father’s Day feast (here’s the link to the recipe: https://basicswithbabish.co/basicsepisodes/shepherdspie)

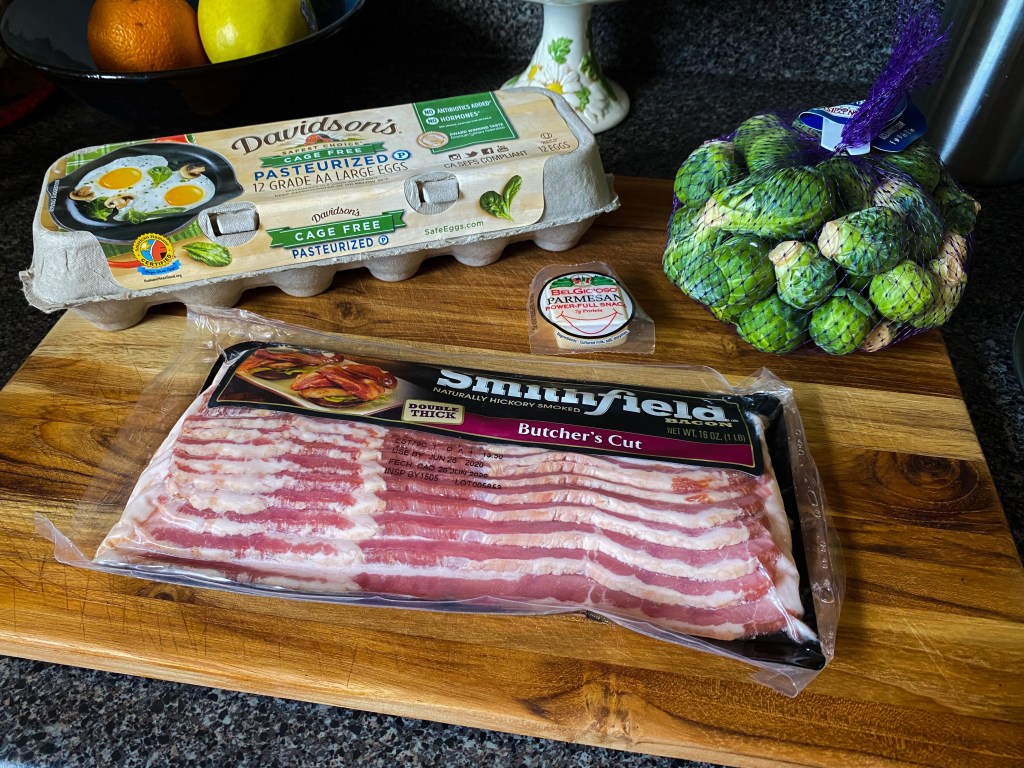
This recipe has so many wonderful ingredients and is super tasty. I cannot say this enough…fresh herbs…you MUST use fresh herbs! Because this is a meat and potatoes kind of meal it really sticks with you. One thing I was a little worried about at first was the amount of ingredients that we were going to have to buy for one meal, but as it turns out we had almost everything in our kitchen; which means we didn’t break the bank on one recipe.
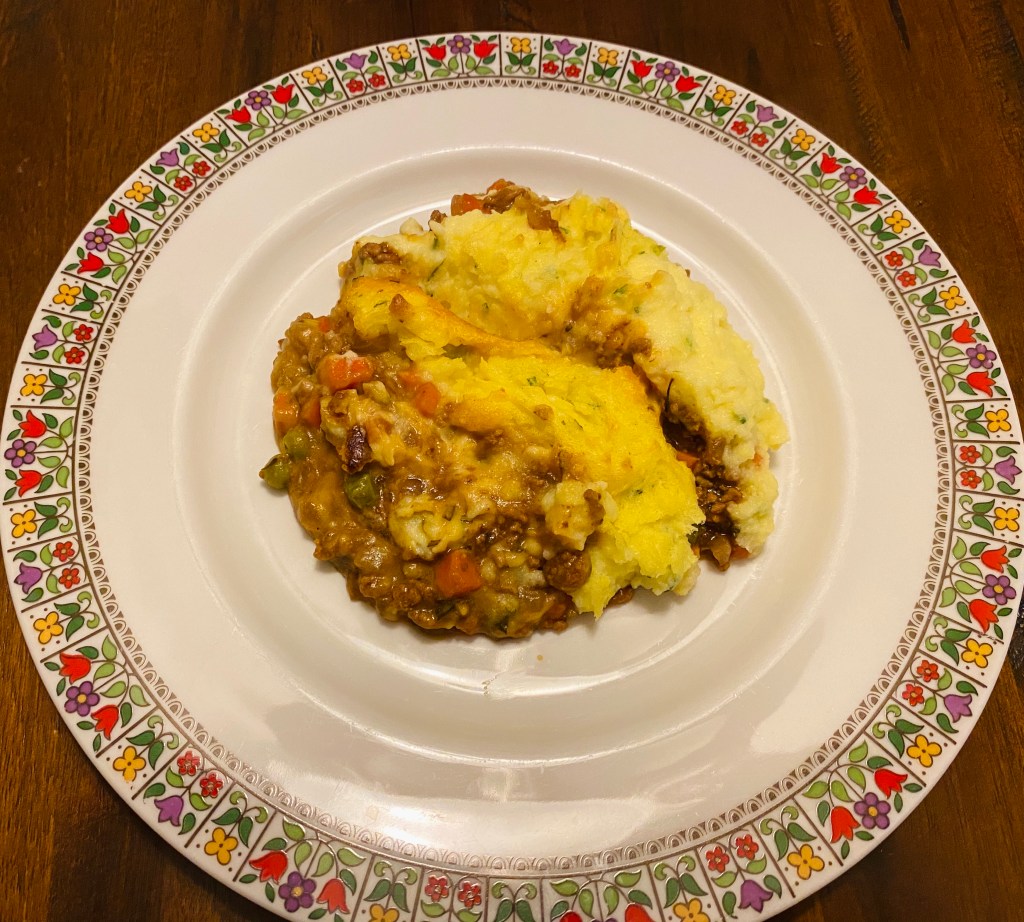
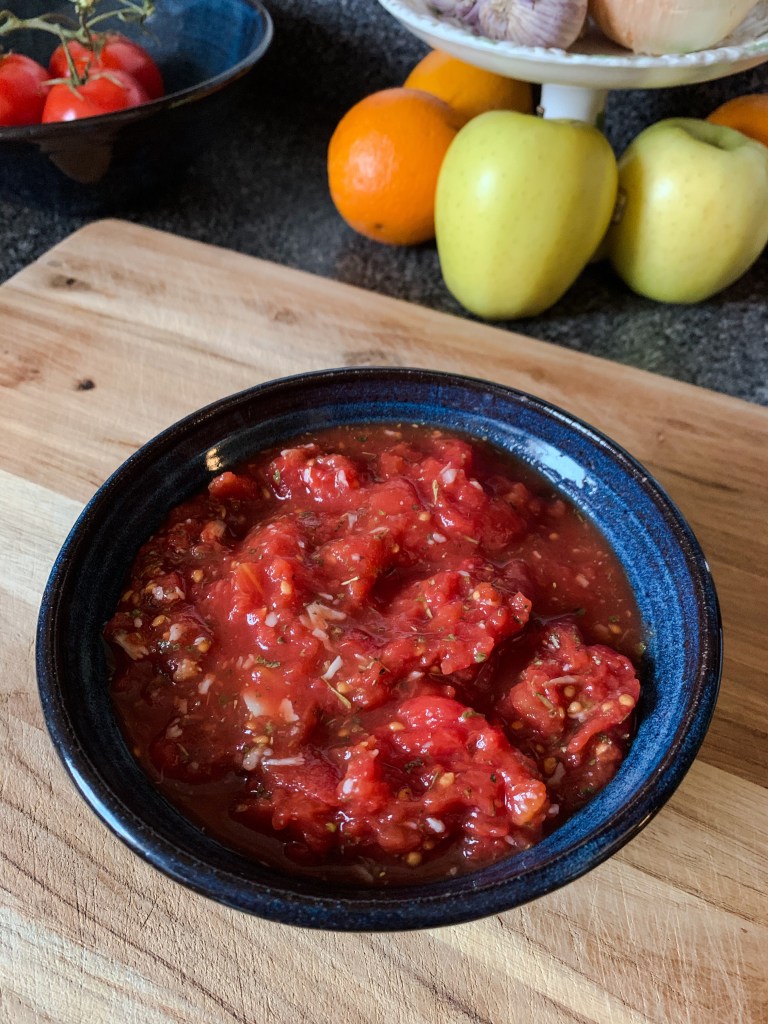
I didn’t have a Demi-Glaze puck as it’s not something that I have on hand in my kitchen, so I made my fresh version which I have shared below. The overall recipe for my Demi-Glaze is easy, tasty and rich which I knew would be a perfect accompaniment to the Shepherds Pie recipe; all of those deep robust flavors really come through with each bite of Binging with Babish’s Shepherds Pie recipe. His recipe is now on our rotation of meals we LOVE! I hope you give it a try and here is my simple Demi-Glaze recipe.
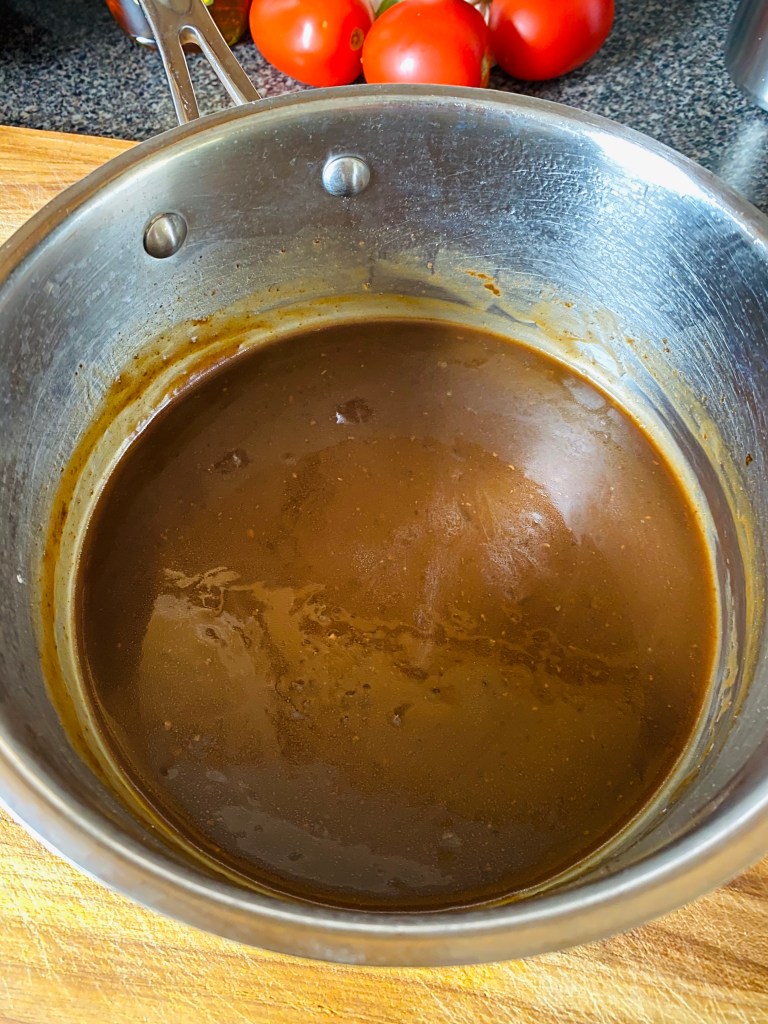
DEMI-GLAZE
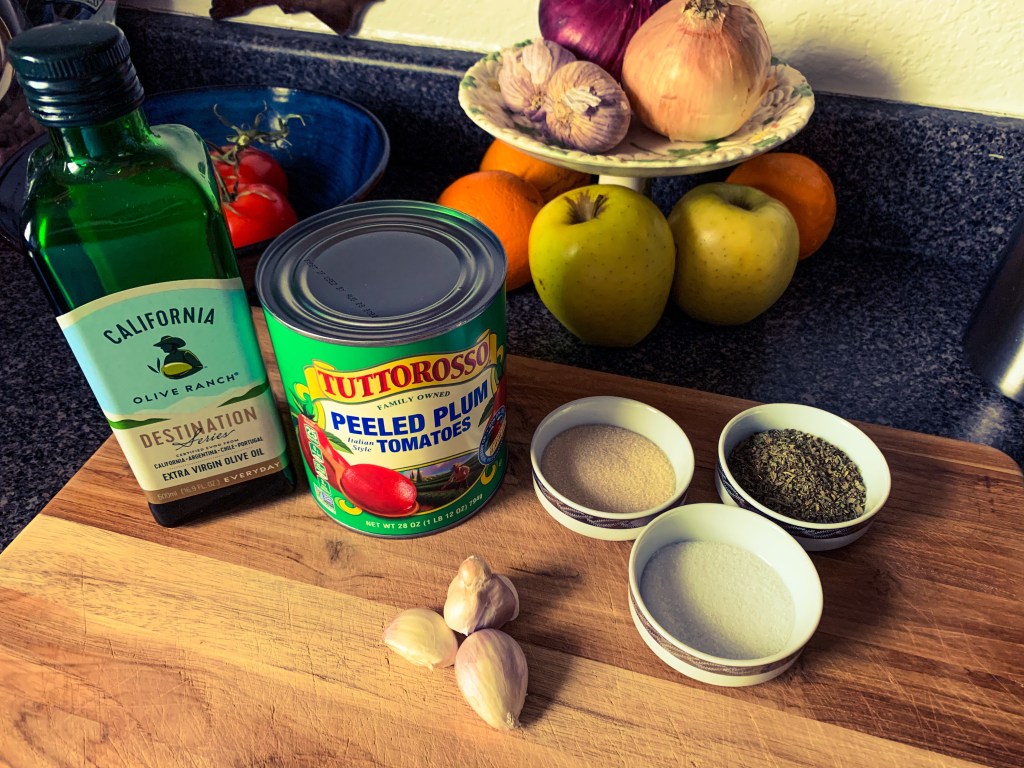
Ingredients:
- 4 cups beef stock
- 1 Tbsp cornstarch
- 1 Tbsp water
- 1 Tbsp unsalted butter
Directions:
- Add beef stock to a medium size pot and bring to a rapid simmer; reduce heat to medium-low.
- Reduce stock for 1 1/2 hours.
- Once stock has reduce by half add a slurry of cornstarch and water; allow to simmer for 10 additional minutes.
- Remove from heat and add butter.
- Allow to cool at room temperature until completely cool. Store in an airtight container or freeze for later use.
- Should make 1 cup of Demi-Glaze.
- Enjoy!