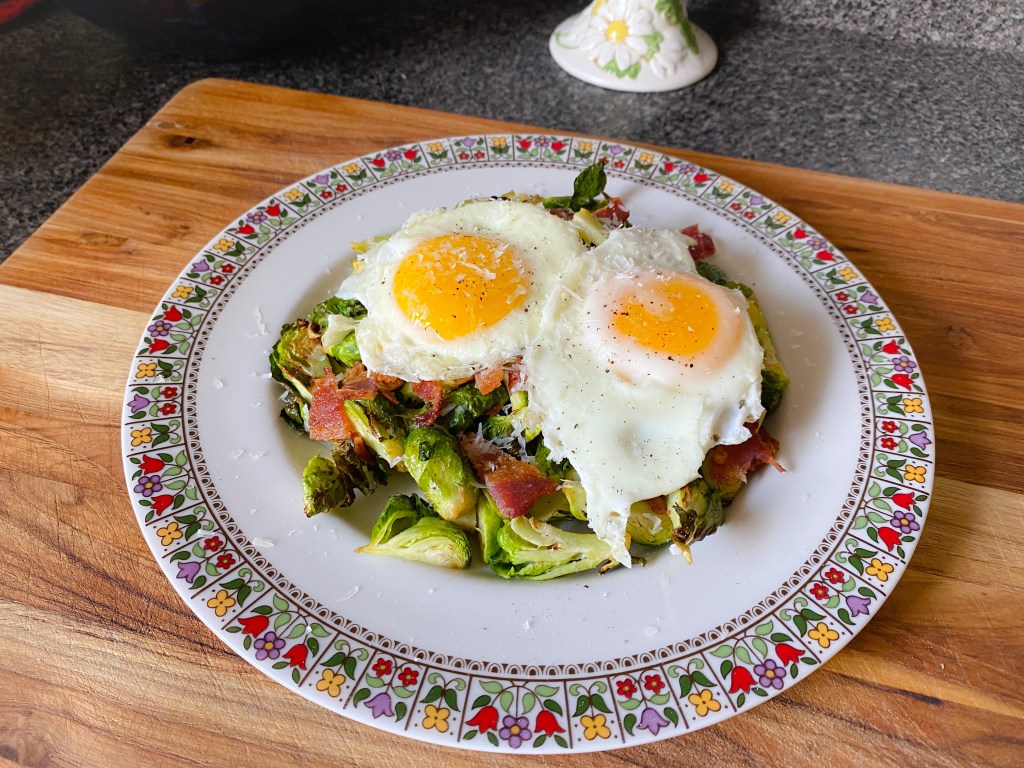
Our family had a late night last night, so we opted to sleep in and make a late Sunday Brunch this morning. Nothing hits the spot more than fresh eggs, bacon, Parmesan cheese and brussels sprouts on a lazy Sunday morning! I made my Brussels Sprouts with Crispy Bacon and Sunny Side Up Eggs which always seems to be a crowd pleaser at our house. This recipe is easy to make, easy to clean up, rich, and will leave you feeling full and satisfied all day!
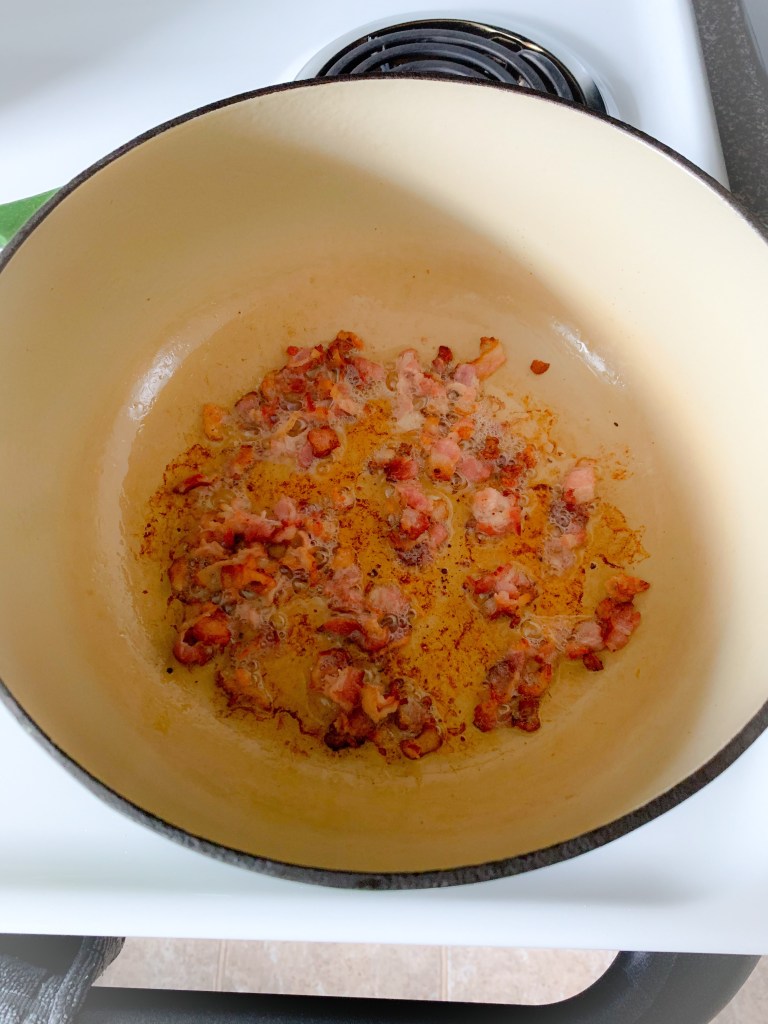
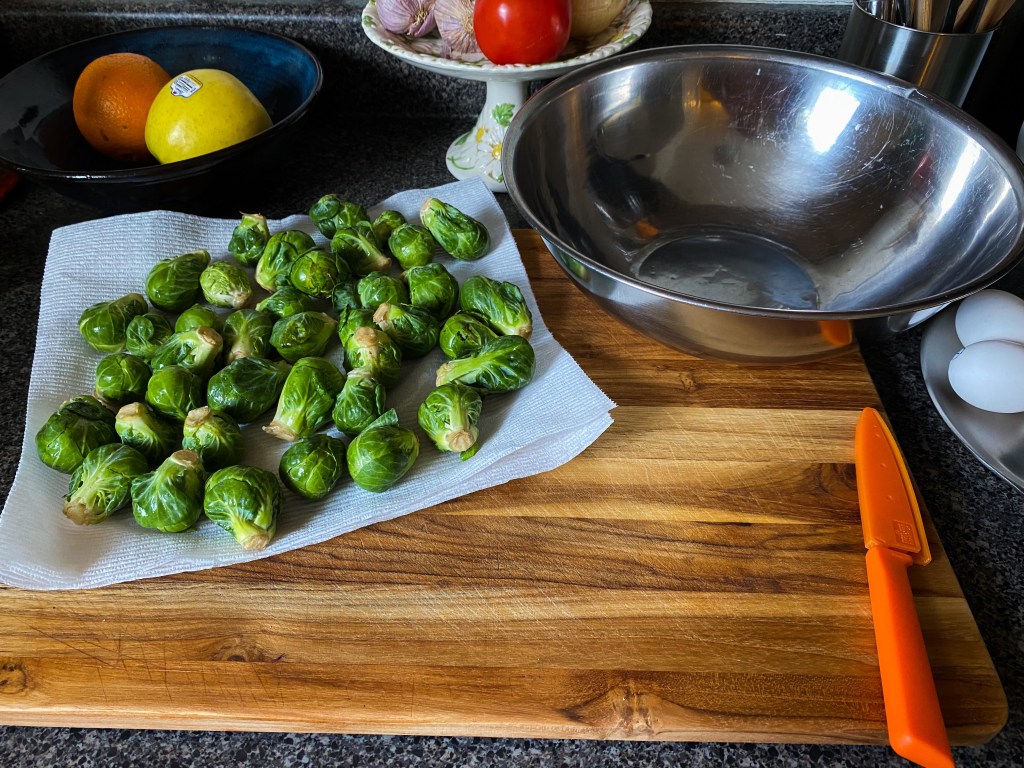
My husband is a huge fan of brussels sprouts and he likes them with a dash of salt and pepper, garlic and onion powered and a small drizzle of olive oil. I always cut the brussels down into quarters for the larger one and half size for the smaller ones. I like to cook brussels in the air fryer for a fast and crispy result. I also cook my bacon ahead of time to allow it time to cool and be chopped into fresh bacon pieces. I usually cook my bacon in the oven at 350 degrees F on a baking sheet covered with parchment paper for about 10 minutes or until done. Cooking the bacon on parchment paper makes for a stress free and easy clean up!
It’s also important to get the eggs out of the fridge early, so they come up to room temperature before frying them. I use a pat of butter and I make sure that my pan is nice and hot when the eggs go in to ensure they cook evenly and that the yolk will be perfectly runny. I finish my sunny side up eggs in the oven to get all of the egg whites cooked through. This recipe is easy, delicious and rich! I hope you enjoy it!
Brussels Sprouts with Crispy Bacon and Sunny Side Up Eggs

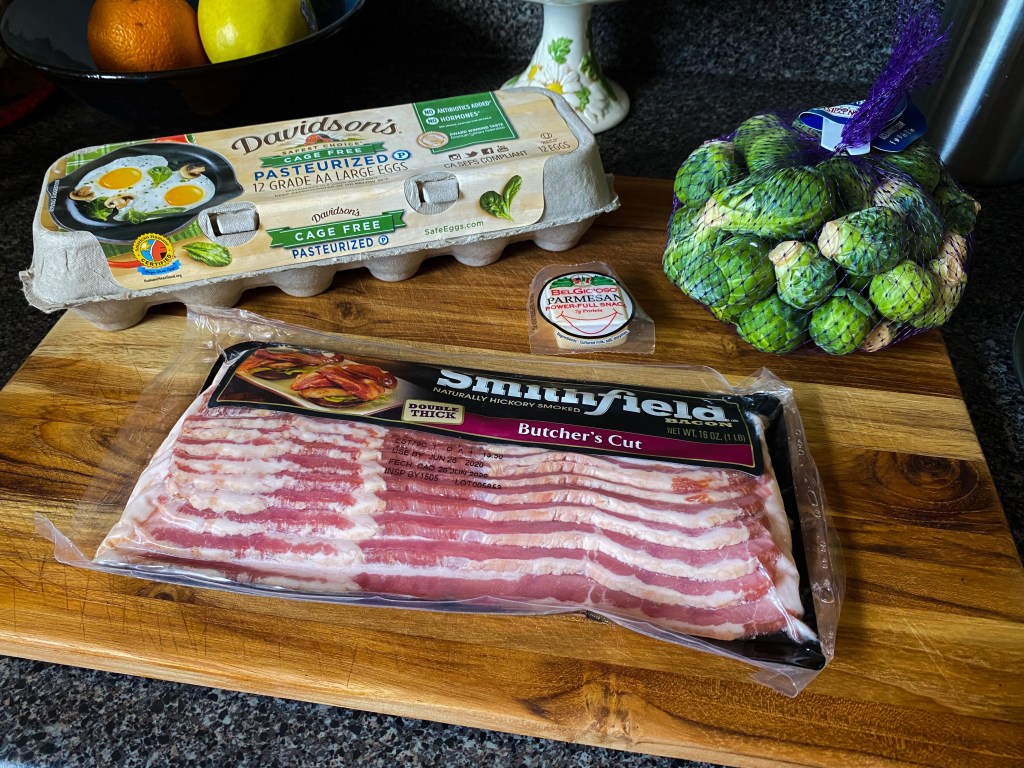
Ingredients:
- 4 large eggs; cooked sunny side up
- 4 strips of thick cut bacon; cooked, drained and chopped into pieces
- A bundle of fresh Brussels sprouts; rinsed, quartered/halved, seasoned
- Parmesan cheese; freshly grated
- Salt and peppper
Directions:
- Preheat air fryer to 350 degrees F and spray with nonstick cooking spray.
- Add brussels sprouts to air fryer and set time for 10 to 13 minutes. Shake basket half way through.
- While brussels are cooking, make sunny side up eggs.
- Once brussels are done remove from air fryer to plate, top with bacon pieces and eggs.
- Shave fresh Parmesan cheese over top and add a dash of salt and pepper.
- Enjoy!
This recipe easily feeds 4.